After weeks of avoidance, I had to choose one of the two possibilities: I would either completely dismantle the remaining body parts and front wheel, or get into the engine and transmission. There doesn't look much work in the body and the wheel, maybe except for the bearings and cutting off the welded junk from the chassis. After that, I won't have anything else blocking the paint job.
The real black box is the engine itself, though. I have no idea about its condition, whether everything inside is intact or not. If I continue with the engine and transmission, I'll be burying myself into engine parts but I will be relieved, and earn some time in case I'll need to buy some unexpected replacement parts. So let's get into the engine.

Here the engine and the transmission "divorced". Just four simple bolts, and you can already see the clutch on the engine block. Nowadays, most of the bikes use "wet" clutches, located in the engine block, running in the engine oil. It must be something with the advance of the technology - the old Beemer has a "dry" clutch. Bigger, heavier, more difficult to access, shorter life, especially when badly used. But, very simple mechanism and no need for oil additives to handle the wet clutch - any motor oil would do the job.
I called it old technology, but the grandchildren of my old Beemer, all the R series up to 2013, have a dry clutch.
The blocks are already cleaned from the dirt and oil in the photo. More about that later...

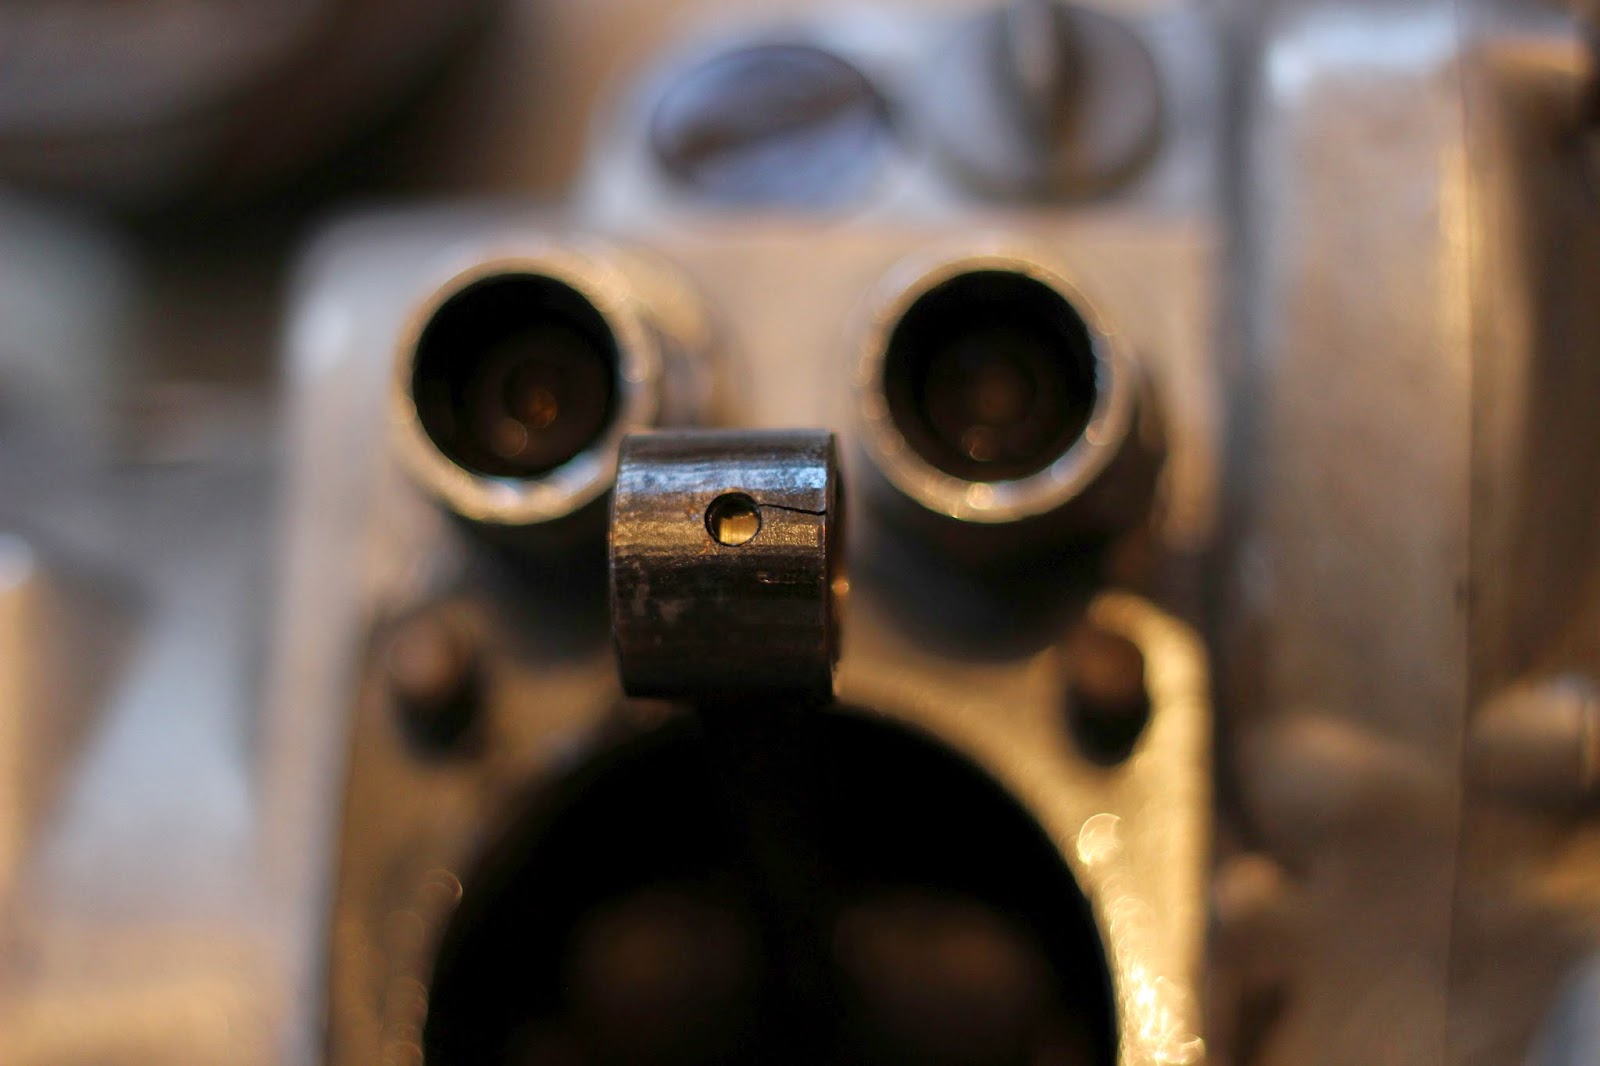
I start with the bolt holding the upper caps. No surprise inside. You can see the exhaust outlet cam on the left and fuel-air inlet cam on the right. The bolts to the middle hold the pushrods extending down to the body. Their job is to push the camshafts and open the cams, synchronized with the revolution of the piston. In the modern vehicles, due to increased complexity, the cam shafts are chain or belt driven, instead of the pushrods.

Here are the inside of the caps. The exhaust side cap contains significantly sootier.

The gaskets do not look very bad at all, I could have reused them if I had to. But that's absolutely pointless, if I don't replace even the gaskets, why am I wasting my time at all, isn't that right?

Not every gasket. The gasket between the carburetor and the intake manifold is completely dried, and has come in pieces.

Anyway, let's move on. The cam shafts are held by two bolts each. Removing them, the cam shafts, pushrods and cylinder cover will come loose.

Here comes the cover. I'm holding the cylinder cover, you can see the cams there, and below the piston at its uppermost position.
No, they are not painted black. But in time, a thick and homogenous layet of soot has covered their surfaces, possibly due to the misadjusted carburetor. They all need a good deal of cleaning.
I haven't decided what to do with the cams. They look okay, except for the dirt, and I am not sure if it is worth removing them. I don't have the special tool for that anyway. Let's do the cleaning first, I'll have more than enough time to think about it.
I haven't decided what to do with the cams. They look okay, except for the dirt, and I am not sure if it is worth removing them. I don't have the special tool for that anyway. Let's do the cleaning first, I'll have more than enough time to think about it.

Now that there is no vacuum chamber anymore, I can easily rotate the clutch and move the piston.

Four more bolts to go, and a couple gentle hits with the rubber mallet and the cylinder body is out. You can see the three piston rings for isolating the combustion chamber, to the top of the piston.

To remove the piston, first I let the rings at both ends loose. Very smart shape, easy job with simple pliers.

And then comes the inside rod, hammering behind a rod with similar diameter. The piston is now free.
Here is the nasty surprise of the day. The arm, holding the piston has a crack right at the tip. This joint is probably exerted to the strongest forces and moves at the highest speed in the entire machine. A reliable repair does not seem possible - the slightest misbalance would end up significant vibrations and further damage. So I will either hope that it will survive and leave it as it is, or look for an affordable used part. Let's see...

Ladies and gentlemen, please salute the great German chemical industry: Here I'm introducing you Domol oven cleaning spray.
Basically, the dirt inside an oven and an engine is indeed pretty similar, After all, it is just burned oil and remains of over-roasted organic molecules.
The stuff looks like shaving foam. Simply apply it onto the surface, wait for a few minutes and give it a good rub with Scotch-Brite. It is very stubborn, so I will have to repeat that a few times. The line between a motorcycle repairman and a housewife is way thinner than you'd think.

Same for the piston head. This is the second round, you can already see how effective the first round was.

Speaking of the piston, this is not the original one. The engine has been rectified (possibly twice) that is, the inner surface of the cylinder is honed to eliminate little scratches accumulated in time. This operation naturally eats up the metal and increases the inner diameter. The original piston is 68mm, where this one is a 69mm, brand Meteor.
The surface is not shiny at all. I wonder if this is normal, or would it impact its performance?
Time to let the oven cleaner do its job...

The surface is not shiny at all. I wonder if this is normal, or would it impact its performance?
No comments:
Post a Comment